|
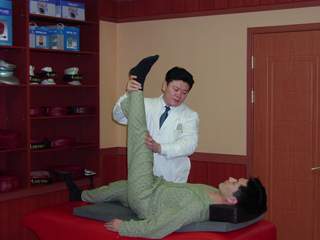
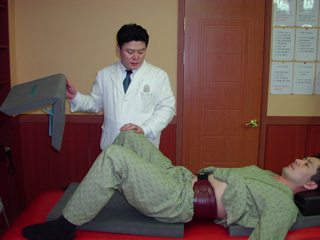
  Physical examination, SLR for evaluation after
traction treatment.
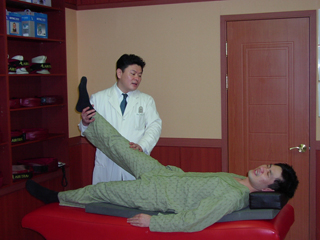
Physical examination, SLR for evaluation after
traction treatment.
|
|
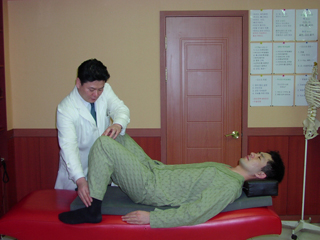 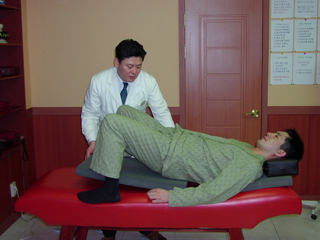 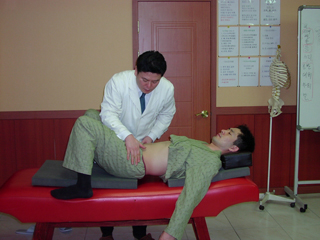
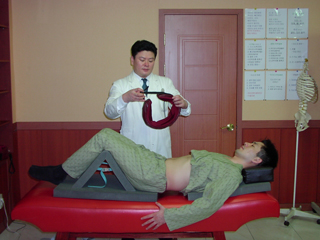
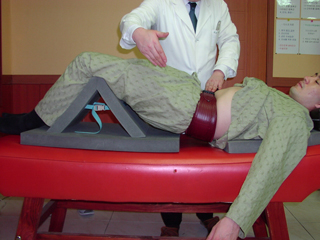
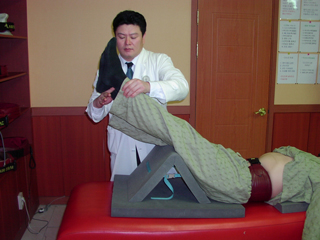
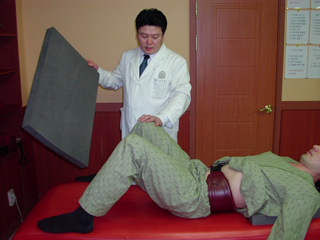
Separate
two mats away from Lower Back, and elevate knees.
|
|
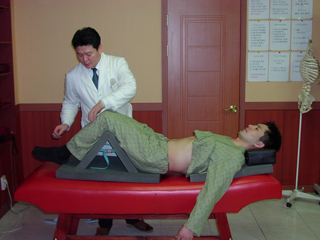
Confirm
a correct size, and deflate Airtrac 440 by pushing
the button and sqeezing it.
Refer
the table of <products> for choosing size.
|
|
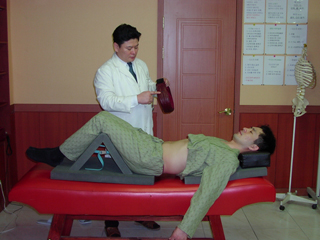
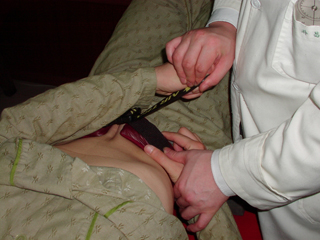
 Loosening band for applying.
|
|
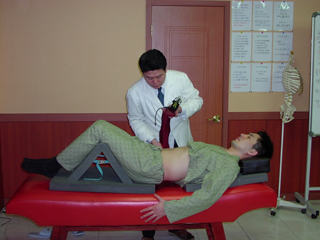
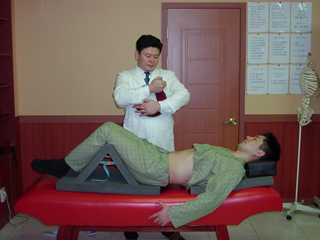
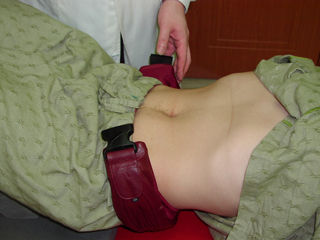
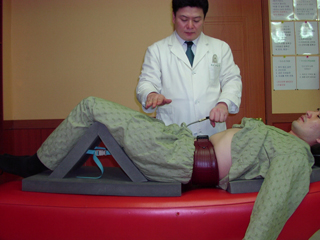
Apply
it from right side of patient. Air hose
have to be caudally.
|
|
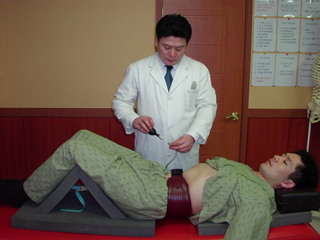
Natural
Abdomen. Suck
in stomack to show Ribcage.
|
|
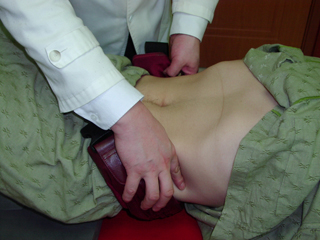
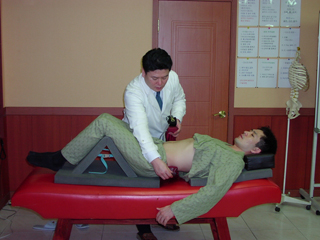
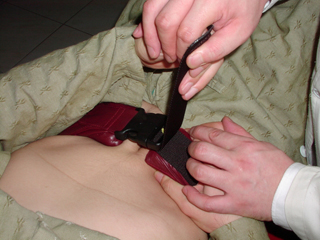
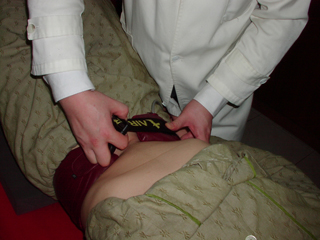
Apply
Airtrac 440 between the Ribcage and pelvis.
|
|
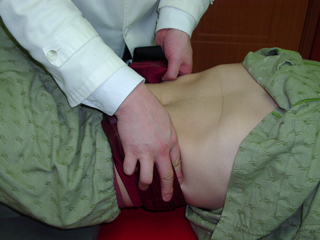
Fasten
band tightly by pushing with right hand of patient,
and pulling with left hand.
|
|
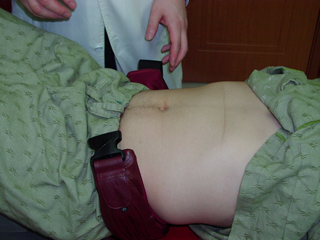
Spread
wrinkled skin, both sides.
|
|
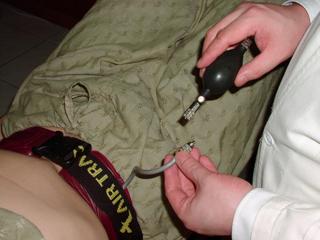
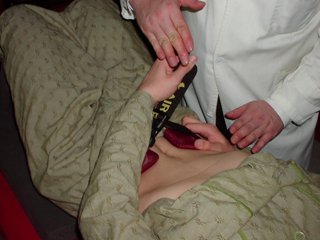
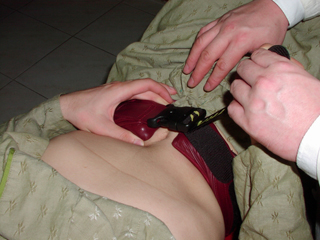
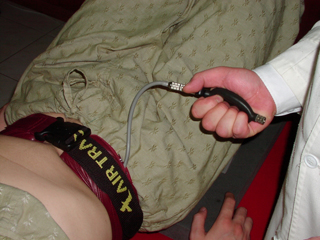
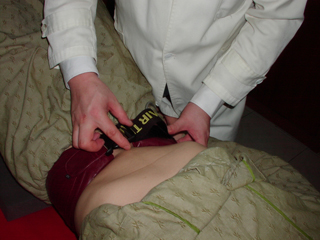
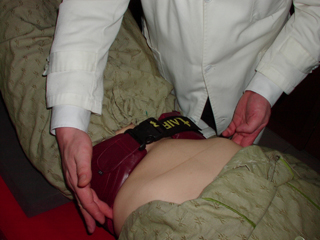
Fix
the zipper and push pants under zipper part.
Connect inflatable bulb by rotating it.
|
|

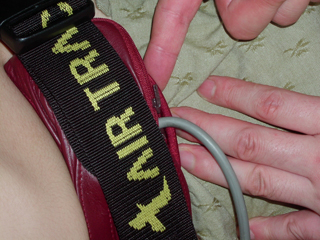
Pump
by nails, about 80 to 120 times.
|
|
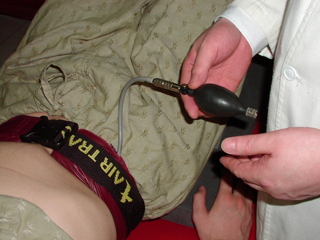
Pump
air fully with hand by hand.
|
|
Move
hips up and down slowly during pumping air.
(tilting pelvis forward)
Because the hips
have to move caudally for lumbar traction.
|
|
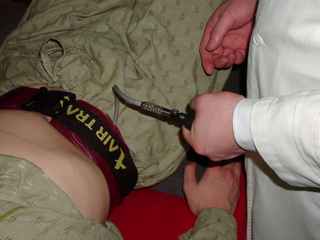
 Detach the bulb after full inflation.
|
|
 Now, loosen band for patient to be comfortable,
but Airtrac have to between the ribcage and
pelvis.
Now, loosen band for patient to be comfortable,
but Airtrac have to between the ribcage and
pelvis.
|
|
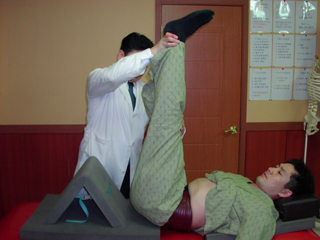
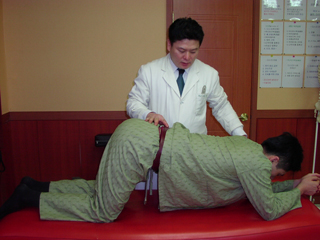
Grip
ankles and shake them for full relaxation,
and raise legs up and down to promote stretching
effect.
|
|
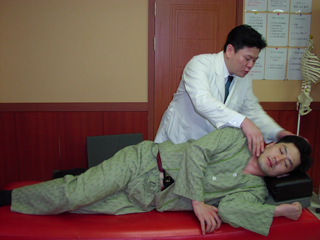
Remove
Mats and pillow. It's better for patient not
to sitt down but rotate himself to prone position.
|
|
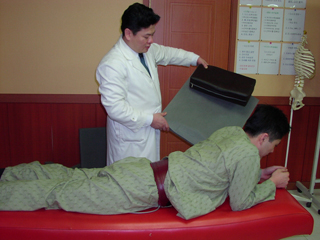
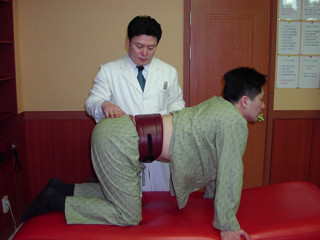
 Raise hips and trunk on knees and hands.
|
|
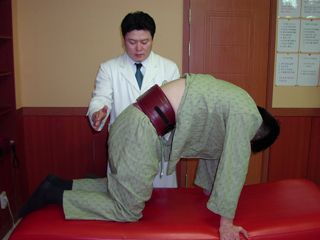
Full
relaxation. Elevate
lower back (humping)
Repeat upper two posture
for 5 seconds a time, for 10 to 30 times to
promote full stretching. It' better in the case
of partially hardened disc patients.
|
|
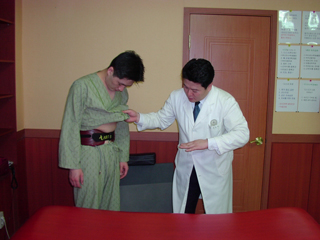 Full elaxation and forward bending is recommended
during applying Airtrac, when erect or sitting
down.
Full elaxation and forward bending is recommended
during applying Airtrac, when erect or sitting
down.
|
|
Return
to front page (Clinical Research)
|